Create Stunning Resin Wall Art for Your Home Decor
Discover how to create stunning resin wall art for your home decor with essential techniques, tips, and materials for a personalized touch.
How to Create Stunning Resin Wall Art for Your Home Decor
1. Introduction
Resin art has become a captivating and popular medium for home decor. This creative form of art allows individuals to express their personalities and style through unique pieces. As the trend for personalized home decor grows, many are turning to resin art as a way to enhance their living spaces. This article aims to guide you through the process of creating your own stunning resin wall art, from understanding the medium to showcasing your finished work.
2. Understanding Resin Art
What is Resin Art?
Resin art involves using synthetic resin as a medium to create beautiful, durable art pieces. The resin is a liquid that, when mixed with a hardener, cures into a hard, glossy finish. This unique quality makes resin an ideal material for creating eye-catching wall art.
Types of Resin Used in Art
- Epoxy resin: Known for its clarity and durability, epoxy resin is the most popular choice for art projects.
- Polyester resin: Often used in mold-making, polyester resin is less expensive but can be more brittle.
- UV resin: Cures quickly under UV light, making it suitable for small projects and quick fixes.
Benefits of Creating Resin Art
- Customization and creativity: Each piece can be tailored to reflect your personal style.
- Durability and longevity: Once cured, resin art is resistant to damage and can last for years.
- Aesthetic appeal: The glossy finish enhances colors and inclusions, making for striking visuals.
3. Essential Tools and Materials
Safety Equipment
- Gloves: Protect your hands from the resin.
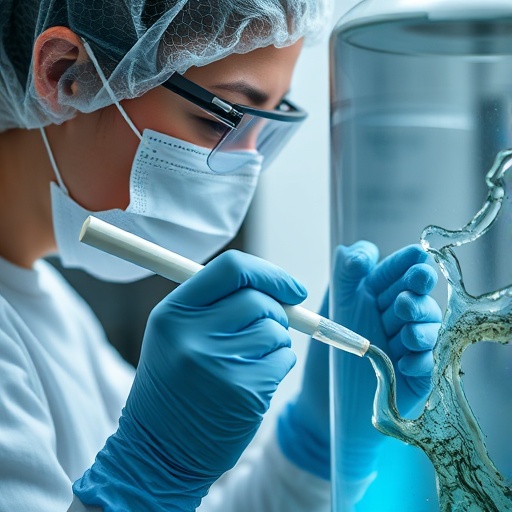
- Masks: Avoid inhaling fumes by wearing a mask.
- Protective eyewear: Safeguard your eyes from splashes.
Basic Tools Required
- Mixing cups: For measuring and mixing the resin.
- Stir sticks: To ensure thorough mixing of resin and hardener.
- Heat gun or torch: For removing bubbles from the resin surface.
Materials for Art Creation
- Types of pigments and dyes: Use colorants specifically designed for resin.
- Inclusion materials: Consider adding flowers, glitter, or stones for added texture.
- Base materials: Common choices include canvas, wood panels, or acrylic sheets.
4. Preparing Your Workspace
Choosing the Right Location
Select a well-ventilated area to work in, ideally with a flat surface to prevent spills.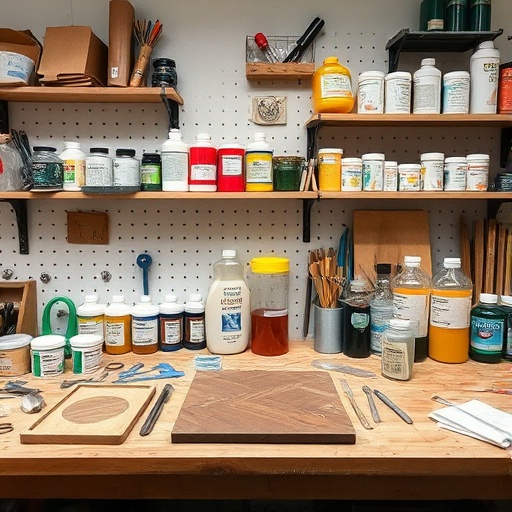
Organizing Your Materials
- Labeling and sorting materials: Keep everything organized to streamline the process.
- Keeping tools easily accessible: Arrange tools close to your workspace for efficiency.
Protecting Your Workspace
- Covering surfaces: Use plastic or paper to protect your workspace from spills.
- Using drop cloths: Lay down drop cloths to catch any drips or spills.
5. Designing Your Resin Art
Concept Development
Find inspiration from nature, colors, or themes that resonate with you. Sketching your design beforehand can help visualize the final piece.
Color Theory Basics
Understanding color combinations is essential. Use contrasting and complementary colors to create dynamic effects.
Planning Your Composition
- Balancing elements: Ensure that your design feels cohesive and not overcrowded.
- Focal points and flow: Direct the viewer's eye through the artwork with strategic placement of colors and shapes.
6. Mixing Resin
Understanding Mixing Ratios
Precise measurements are crucial for successful curing. Common ratios vary by resin type, so always refer to the manufacturer's guidelines.
Step-by-Step Mixing Process
- Pour the appropriate amount of resin and hardener into your mixing cup.
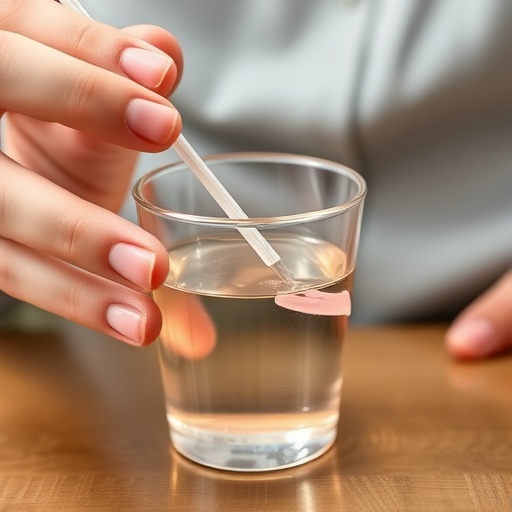
- Use a stir stick to mix thoroughly, ensuring a uniform consistency.
Avoiding Common Mixing Mistakes
- Over-mixing: This can introduce air bubbles, which may affect the final look.
- Temperature considerations: Ensure your workspace is at the recommended temperature for curing.
7. Pouring and Layering Techniques
Pouring Methods
- Clean pour method: Pour resin directly onto the surface for a smooth finish.
- Dirty pour method: Layer different colors in one cup and pour together for a marbled effect.
Techniques for Layering Colors
Create depth by pouring multiple layers of resin. Here are some tips:
- Allow each layer to partially cure before adding the next.
- Use a heat gun to blend colors as they layer.
Adding Inclusions
Incorporate materials like flowers or shells for added visual interest:
- Placement strategies: Think about how inclusions can enhance your overall design.
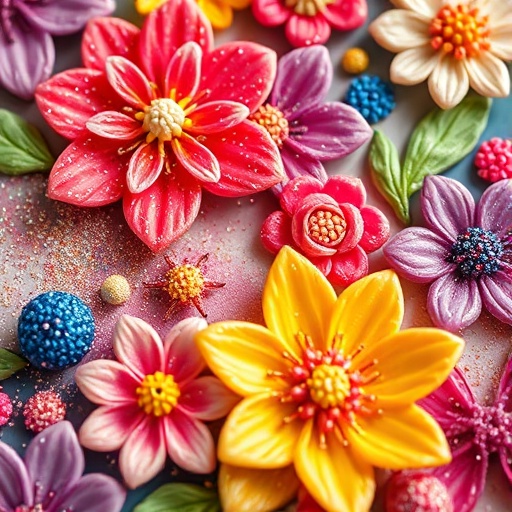
- Embedding: Pour a thin layer of resin, place inclusions, and then cover with more resin.
8. Using Molds for Shapes
Types of Molds
- Silicone molds: Flexible and easy to use, perfect for creating intricate shapes.
- Custom molds: Create unique shapes tailored to your design.
How to Prepare Molds
- Cleaning and conditioning molds: Ensure they're free of debris and properly conditioned.
- Preventing sticking issues: Use a mold release agent if necessary.
Pouring into Molds
For clean edges, follow these tips:
- Pour slowly to minimize bubbles.
- Fix any overflow and drips immediately.
9. Finishing Touches
Demolding Your Artwork
Timing is crucial; demold when the resin is firm but not fully cured for easier removal.
Surface Finishing Techniques
- Sanding rough edges: Use fine-grit sandpaper for smoothing.
- Polishing for shine: Apply a polishing compound for a glossy finish.
Adding Hardware for Display
- Choosing frames or hangers: Select options that complement your artwork.
- Tips for securing artwork to walls: Use appropriate wall anchors for safety.
10. Maintenance and Care
Cleaning Your Resin Art
To clean, use a soft cloth and mild detergent. Avoid abrasive materials that could scratch the surface.
Preventing Damage
- Avoiding direct sunlight: Keep artwork out of intense light to prevent fading.
- Protecting from extreme temperatures: Store in a stable environment to maintain integrity.
Repairing Damaged Resin Art
For minor scratches or chips, consider using a clear resin to fill in damaged areas. For extensive damage, consulting a professional may be advisable.
11. Showcasing Your Resin Wall Art
Best Locations for Display
- Living rooms: Create a focal point above a sofa or mantel.
- Offices: Add a personal touch to your workspace.
- Galleries: Consider showcasing your work in local art exhibits.
Creating a Gallery Wall
For a cohesive display, consider these tips:
- Mix different art forms for visual interest.
- Plan the arrangement and spacing beforehand.
Sharing Your Artwork Online
Social media platforms are excellent for showcasing your art. Here are some tips:
- Use natural light for photography to capture true colors.
- Engage with art communities online for feedback and exposure.
12. Conclusion
Creating resin wall art is a rewarding and enjoyable process that allows for endless creativity.
From gathering materials to showcasing your finished piece, each step contributes to the joy of art-making. Embrace the journey, experiment with new techniques, and most importantly, have fun as you craft stunning art pieces for your home decor.
Key Takeaways
- Resin art is a versatile medium perfect for personalized home decor.
- Safety equipment is essential when working with resin.
- Understanding color theory and composition can enhance your designs.
- Proper mixing and pouring techniques are crucial for success.
- Maintenance is key to preserving the beauty of your resin art.
FAQ
What type of resin is best for wall art?
Epoxy resin is generally considered the best option due to its clarity, durability, and ease of use.
How long does resin art take to cure?
The curing time varies by resin type but typically ranges from 24 to 72 hours for full hardness.
Can I use regular paint with resin?
No, it’s best to use pigments and dyes specifically made for resin to ensure proper mixing and curing.
How do I remove bubbles from resin?
Using a heat gun or torch carefully over the surface can help pop bubbles as the resin cures.
Is resin art safe for children?
While the finished product is safe, the resin itself can be hazardous during the mixing process, so adult supervision is necessary.